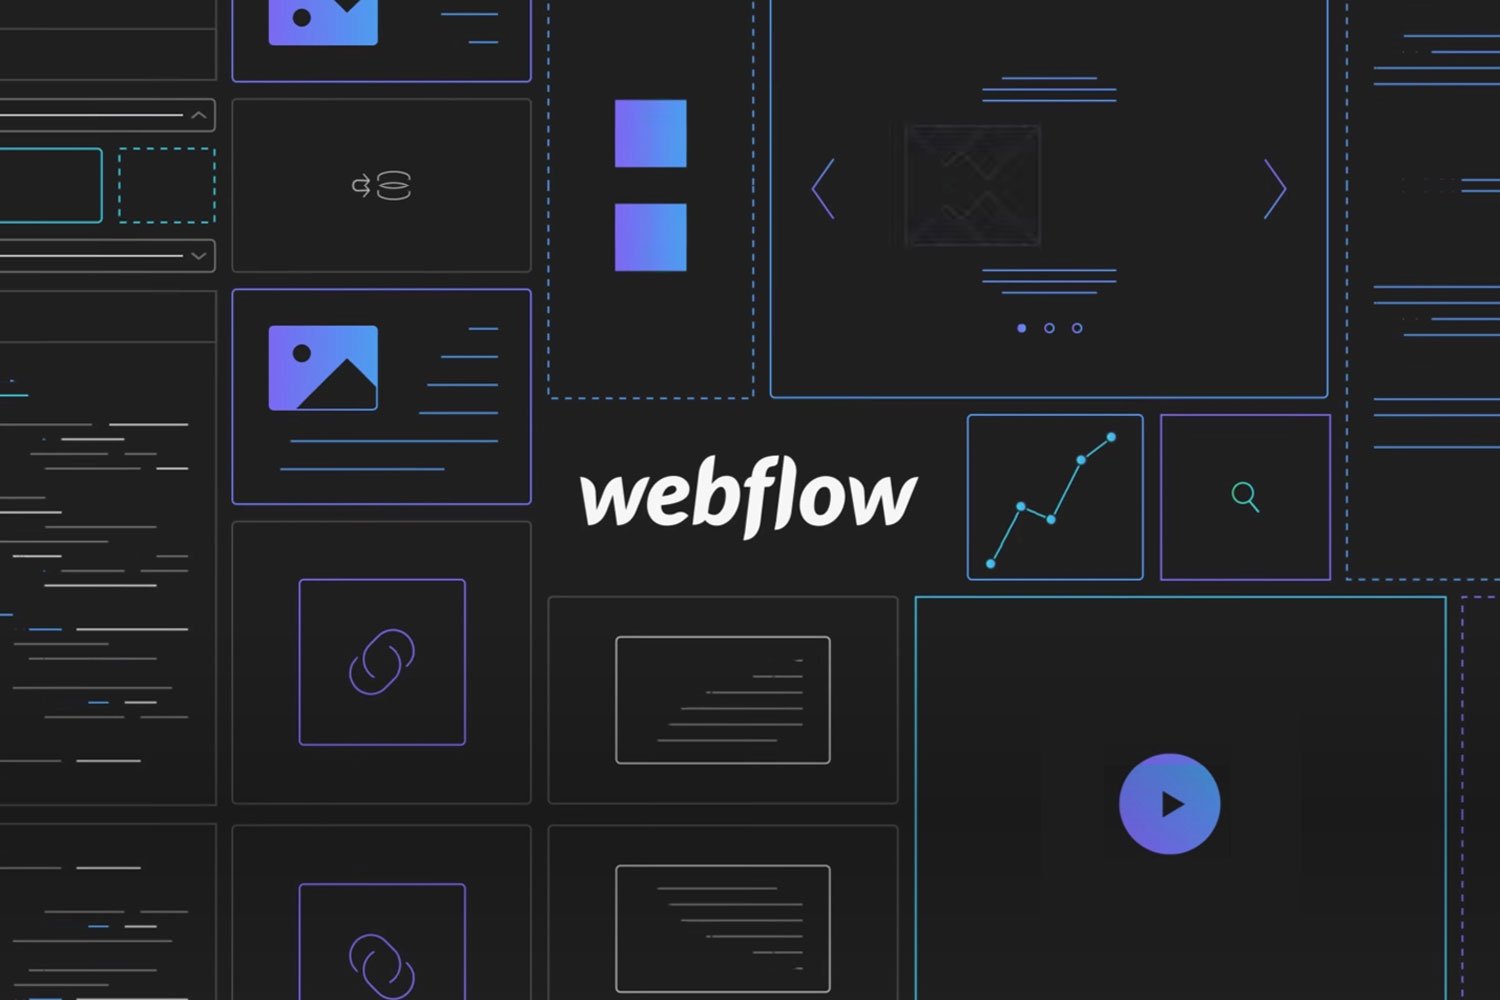
If you’re looking to build an e-commerce website but want to try something different from traditional platforms like Shopify or WooCommerce, then Webflow might be the solution for you. Webflow is a website builder that allows you to create responsive, professional-looking websites without any coding knowledge. In this blog post, we’ll guide you through the process of creating an e-commerce website in Webflow.
Step 1: Plan Your E-commerce Website Before you start building your website, it’s essential to plan out the pages, features, and functionality you need. Some essential pages to include on your e-commerce website are the homepage, product pages, category pages, shopping cart, and checkout pages. Think about how you want your website to look and feel, what products you want to sell, and what payment and shipping options you need.
Step 2: Choose a Template or Start From Scratch Webflow offers a variety of templates that you can use as a starting point for your e-commerce website. You can browse their template library and choose the one that fits your brand and business needs. Alternatively, you can start from scratch and create a custom design using Webflow’s drag-and-drop editor.
Step 3: Set Up Your E-commerce Store To sell products on your website, you need to set up your e-commerce store. Webflow has an integrated e-commerce platform that allows you to manage your products, orders, and payments. To set up your store, go to the E-commerce tab in the Webflow editor and follow the prompts to add products, set up shipping and tax rules, and connect your payment gateway.
Step 4: Design Your Pages Now that you’ve planned your website and set up your e-commerce store, it’s time to start designing your pages. Use Webflow’s drag-and-drop editor to create your homepage, product pages, category pages, and other essential pages. Make sure your website design is consistent with your brand and showcases your products effectively.
Step 5: Optimize Your Website for SEO Search engine optimization (SEO) is critical for e-commerce websites to rank well in search results and attract organic traffic. Webflow allows you to customize your website’s SEO settings, including meta titles, descriptions, and keywords, and add alt tags to your product images.
Step 6: Launch Your Website Once you’ve finished designing and optimizing your website, it’s time to launch it. Before you go live, test your website thoroughly to ensure it works correctly and looks good on all devices. Then, connect your domain, publish your website, and start promoting it to attract visitors and sales.
Building an e-commerce website in Webflow may take more time and effort than using a traditional e-commerce platform like Shopify or WooCommerce. However, the flexibility, control, and customization options that Webflow offers can be worth the extra work. With this step-by-step guide, you can create a professional-looking online store that is easy to use and manage.
We specialize in creating custom websites and e-commerce stores that fit your business needs. If you need help building an e-commerce website or have any other website development needs, feel free to contact us for a consultation.